
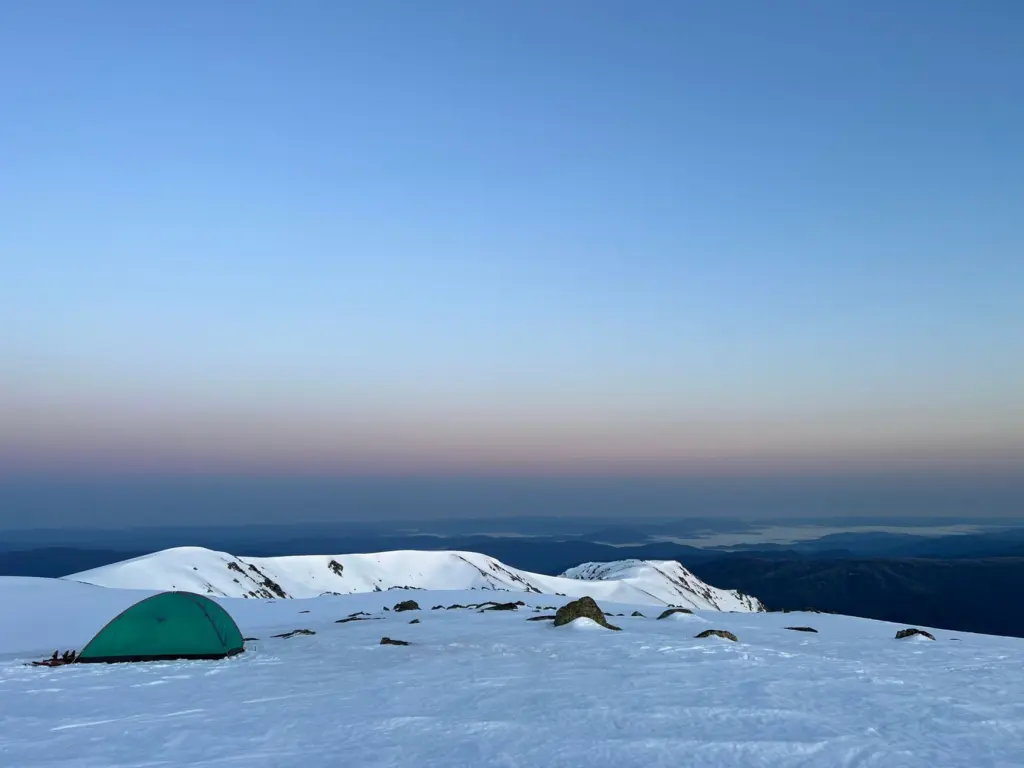
Quick answer: how to insulate a tent floor for winter: layer from the ground up. Start with a footprint, add reflective foil, then foam padding, then blankets. Pitch on a sheltered spot and keep some ventilation so condensation does not dampen the floor.
This method suits families in tents on cold ground. For wider context on ground protection, see the guide to emergency shelter flooring for displaced families.
Before you start
The floor is the area you want to be the most insulated, because it is where occupants sleep, eat and spend their time, as Insulation4Less puts it. Gather what you can before laying anything, because the order of layers matters more than any single material.

- A suitable tent. Only 4 season tents have built-in insulation, and season 3 tents are suited to summer, spring and autumn weather but not winter. If the tent is a lighter type, the floor layers below carry more of the load.
- A ground sheet or footprint. This is the first layer between sleepers and the ground.
- Reflective foil or emergency blankets. Foil with both sides reflective works above the footprint.
- Foam padding or thermal mats. Closed-cell foam pads are the preferred type.
- Blankets, rugs or mats. Ground mats, rugs and blankets all work, and even large towels if nothing else is available.
- Scissors or a knife. You will need these to cut mats to fit corners and edges.
The outcome is a floor that limits heat loss into the ground. Standard tents lose body heat fast and let cold air flow through, so the floor is only one part of a warm shelter, and the later sections cover the rest.

Insulating the tent floor step by step
Step 1: Choose and prepare the pitch
Choose the pitch before you insulate, because a poor site undoes good layers. Try to pitch near a natural windbreak, such as a bush or large rock formation, as Clevenard advises. Get away from valley floors, where icy air accumulates, according to Balkene Home. Where snow lies on the site, clear and level the ground so the layers lie flat and do not leave voids.
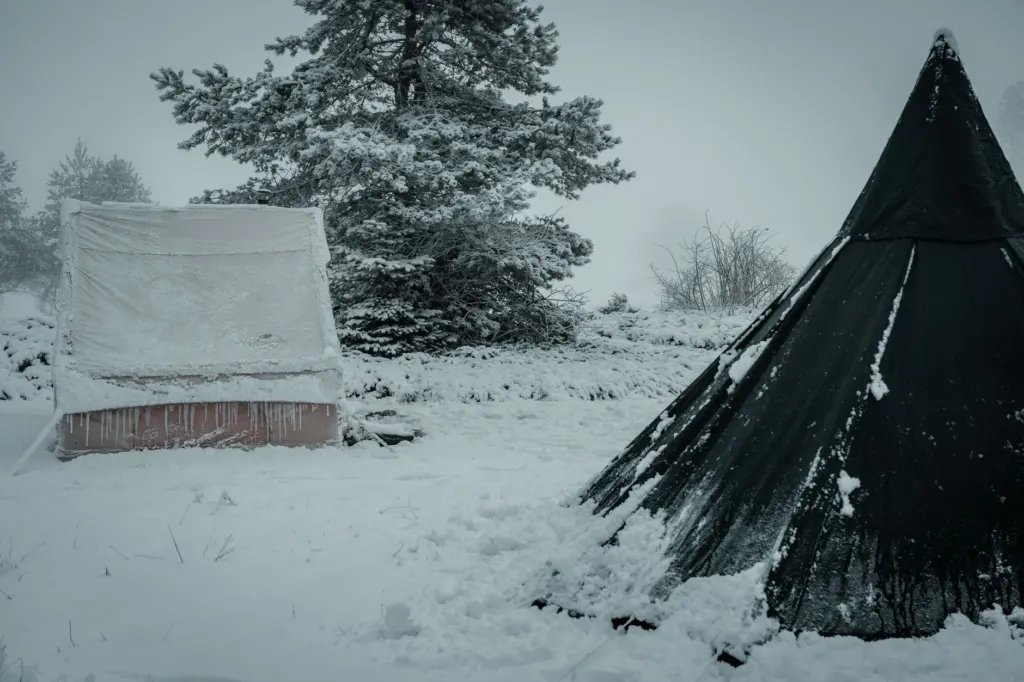
Step 2: Lay the footprint
Lay the tent footprint directly over the cleared ground. It is the first layer between you and the ground, and everything else sits on it. Smooth it out and check that it does not stick out past the tent walls, so it cannot collect water at the edges.
Step 3: Add reflective foil
Lay reflective foil on the tent floor, above the footprint. Foil with both sides reflective suits this job. Reflective emergency blankets placed on the floor can also reflect heat back up toward the sleepers. Overlap sheets rather than leaving bare strips, since uncovered ground lets heat escape.
Step 4: Fit foam mats or thermal mats
Place foam padding over the foil. Foam padding on the tent floor adds to your insulation significantly. Closed-cell foam pads have high thermal insulation properties, so they are efficient at preventing heat loss. Of the layers you can add, thermal mats of this type matter most for sleeping areas.
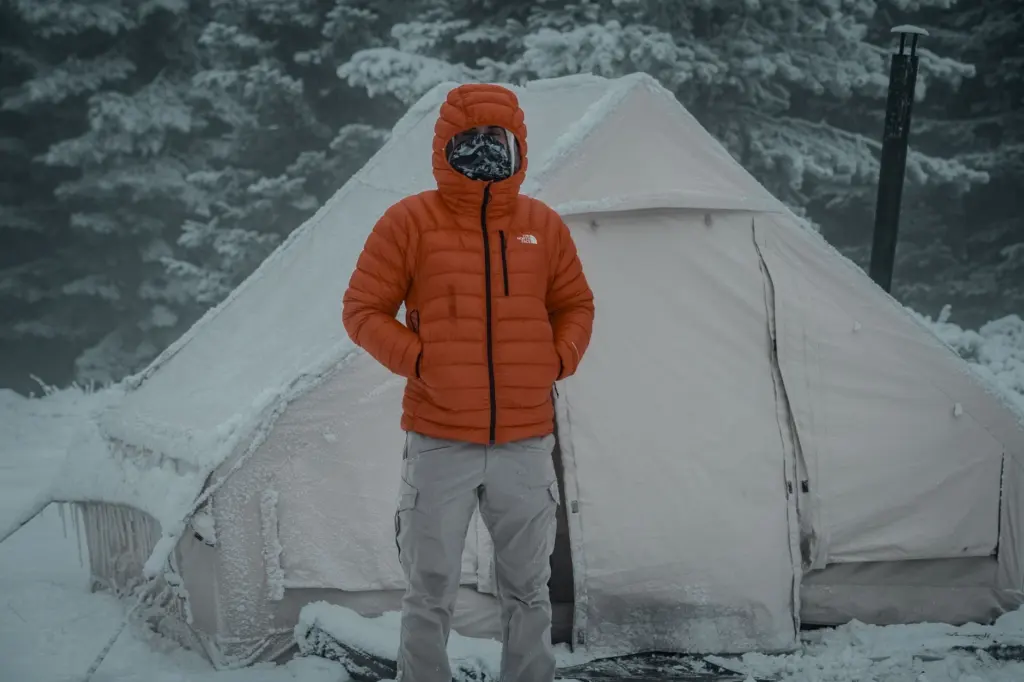
Cut the mats so they butt together edge to edge and fill the corners. Gaps let cold rise through to the sleepers. Trim each piece slowly against the tent corner, and keep offcuts to patch seams.
Step 5: Finish with blankets, rugs or mats
Add blankets, rugs or ground mats as the top layer. An additional layer of blankets aids both insulation and comfort. This layer is also the easiest to take out and air, and to replace when the family needs more warmth. Sleeping surfaces go on top of the stack so that nobody lies directly on cold material.
If the ground stays wet or frozen hard, lifting sleepers clear of it may work better than adding more layers. The guide to a raised floor for emergency shelter covers that approach, and a comparison of emergency shelter flooring options helps when materials are limited.
Which materials work best against cold ground
Closed-cell foam is the strongest single material in the stack, and reflective foil is the best addition to it. Foam resists heat loss into the ground, and foil sends heat back toward the sleeper. Blankets add comfort and some insulation on top.
Rugs and towels are fallbacks when nothing better is on hand. Several thinner layers still beat bare ground, and the order stays the same whichever materials you have.
Checkpoints before the first night
Run through this table once the layers are down. It confirms each layer is in order and doing its job.
| Layer (bottom to top) | Material | What it does | Planning use |
|---|---|---|---|
| First | Tent footprint | First layer between sleeper and ground | Check it lies flat and does not extend past the walls. |
| Second | Reflective foil, both sides reflective | Reflects heat back up | Check sheets overlap and no ground shows. |
| Third | Closed-cell foam or thermal mats | Limits heat loss into the ground | Check mats meet at the edges and fill the corners. |
| Top | Blankets, rugs or ground mats | Adds insulation and comfort | Keep spares so damp ones can be swapped. |
Layer roles are drawn from Insulation4Less and Balkene Home.
Stopping moisture from collecting
Moisture is the common failure in a well-insulated floor. Air ventilation reduces condensation, which can dampen and cool the tent. Proper ventilation cannot be overemphasized given the consequences of condensation, so do not seal the tent completely in an effort to hold heat. Keep a small vent open and check the top layers for dampness each day. Dry or replace any blanket that has taken on moisture, since damp bedding stops insulating well.
Winterizing the shelter beyond the floor
A warm floor cannot compensate for a drafty tent. Cold air gets in through tent openings and makes the tent less effective, so close and seal doors, flaps and gaps while keeping the vent mentioned above.
- Size. A smaller tent is easier to keep warm: the smaller it is, the warmer it is.
- Winter cover. A larger rain fly or cover keeps dew, frost and snow out and helps lock in heat.
- Heating. Select heaters that are designed specifically for tents. Catalytic heaters are safer than open-flame options and produce less carbon monoxide.
- Site. Use a windbreak and avoid cold-air pockets, as in the pitch step.
Frequently asked questions
Do I need all the layers?
No. The full stack gives the best protection, but if materials are scarce, keep the order and use what you have. Ground mats, rugs, blankets or even large towels all help over bare ground.
Can I use a summer tent in winter?
Season 3 tents are suited to summer, spring and autumn weather, not winter. Floor layers, a winter cover and draft sealing improve a lighter tent, but only 4 season tents have built-in insulation.
Is a heater a substitute for floor insulation?
No. Insulation limits heat loss into the ground, while a heater adds heat. If you use one, choose a heater designed specifically for tents, and a catalytic type produces less carbon monoxide than open-flame options.
Why does my tent floor feel damp?
Condensation is the likely cause. Ventilation reduces condensation, which can dampen and cool the tent, so keep some airflow while sealing drafts at the openings.